061416-southern-wedding-party-confetti.jpg

wedding blog + planning guide for creative weddings | inspiration for DIY Brides

Brenda's Wedding Blog is your online resource for planning your dream elegant wedding. Helping you find the "wow" in weddings.

Posts in Food
Arctic Refuge Wild Berry Snap Homemade Ice Cream Recipe from Scoop Adventures

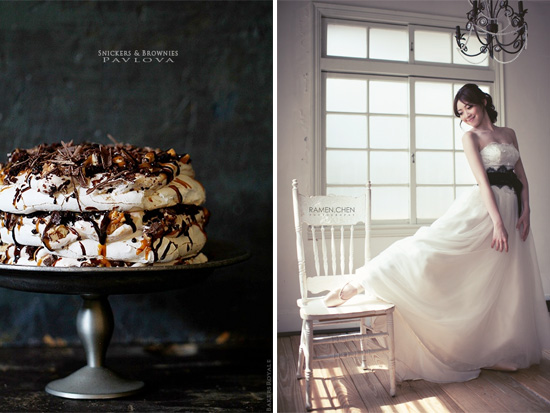
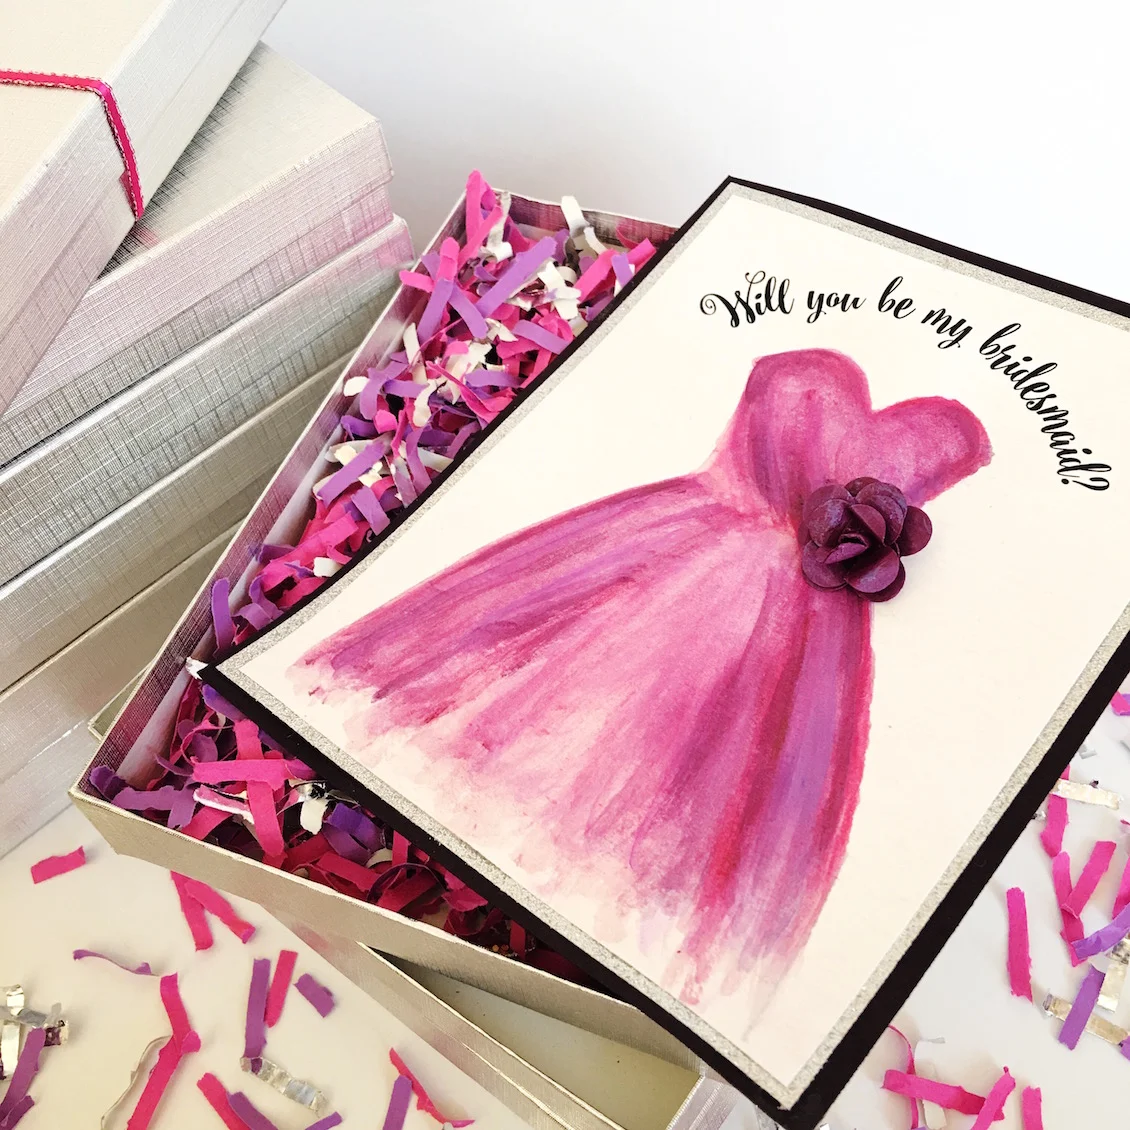
If you are planning any summer parties or an ice cream themed bridal shower or having a wedding with an ice cream bar - you will love the recipe I am sharing from Scoop Adventures. The author Lindsay is an avid ice cream maker and blogger and has traveled across the US in search of the best ice cream and brings them to you in her brand new book. And, today, Lindsay is here to bring you two of her recipes - she shared her Blueberry Mojito Ice Cream recipe earlier today.  PS: I'm now looking for an ice cream maker for myself - if you have one, please leave me a comment as I'd love to know what kind is your favorite.

Arctic Refuge Wild Berry Snap Ice Cream

Adapted from recipe by Hot Licks Homemade Ice Cream, Fairbanks, Alaska

makes 1 generous quart {940ml}

from Lindsay . . . Hot Licks showcases several ice cream flavors inspired by the elegance of the Alaskan wilderness, including this delicious creamy, tart and spicy creation, which was developed in cooperation with the Northern Alaska Environmental Center to honor the Arctic National Wildlife Refuge.

2 egg yolks
1 3/4 cups (414ml) heavy cream
1 3/4 cups (414ml) whole milk
2/3 cup + 5 tbsp (193g) sugar, divided
Pinch of salt
1 tsp vanilla extract
1/2 cup (96g) fresh or frozen blueberries
1/2 cup (65g) fresh or frozen cranberries
1 tbsp (15ml) water
1/2 cup (30g) crumbled gingersnaps

Fill a large bowl with ice water. Whisk the egg yolks in a medium bowl and set aside. Combine the cream, milk, 2/3 cup (133g) sugar and pinch of salt in a medium saucepan. Warm over medium heat until the mixture is hot and the sugar dissolves, 4 to 5 minutes. Temper the eggs by slowly pouring 1/2 cup (118ml) of the warmed cream mixture into the yolks, whisking constantly until combined. Return the warmed yolks to the pan with the remaining cream mixture. Heat the custard over medium-low heat, stirring constantly, until the custard thickens and coats the back of a spoon. Remove from the heat and pour through a fine-mesh sieve into a medium bowl. Set the bowl in the ice water bath to cool, 20 minutes, whisking occasionally. Add the vanilla. Cover and refrigerate until well chilled, at least 4 hours or overnight.

To prepare a blueberry swirl, combine the blueberries and 2 tablespoons (25g) sugar in a small saucepan and place over medium heat. Stir constantly until the blueberries begin to burst, about 5 minutes. Turn the heat to low and simmer, stirring frequently, until the blueberries break down and release all of their juice, 2 minutes. Remove from the heat and cool completely.

To prepare a cranberry swirl, combine the cranberries and remaining 3 tablespoons (37g) sugar in a small saucepan and place over medium heat. Stir constantly until the cranberries begin to burst, about 5 minutes. Turn the heat to low and simmer, stirring frequently, until the cranberries break down and release all of their juice, 3 to 5 minutes. Add the water and stir to combine. Remove from the heat and cool completely.

Blueberry Mojito Homemade Ice Cream Recipe from Scoop Adventures

Today my blog is being turned into a yummy cookbook of sorts. Remember my post from yesterday on the Homemade Ice Cream Bridal Shower inspiration? Today, Lindsay {the author of Scoop Adventures}, is here to share two of the homemade ice cream recipes that are featured in her new book with us. Please check back early this afternoon for another ice cream recipe from Lindsay. Her book {which is based on the name of her blog} features 80 recipes that she has adapted from some of the greatest ice cream parlors across the country. You may have even stopped by some of these specialty shops + restaurants in your travels. Oh, and since I'm now anxious to try my hand at my own homemade ice cream - do you have a favorite ice cream maker?

Blueberry Mojito Ice Cream

makes 3 cups {705ml}

from Lindsay . . . Fruity, full of citrus, with a hint of mint and a smack of rum, this ice cream tastes exactly like the real thing. If you have visited New Orleans, you may have stopped by St. Joe’s Bar, the inspiration for this ice cream. At St. Joe’s they muddle fresh blueberries and mint into a mix of sugar and alcohol for a truly refreshing drink. After a hot summer day of picking blueberries, I was inspired to make this cool drink into an equally refreshing scoop.

Lime Syrup
1/4 cup (59ml) lime juice
1/4 cup (50g) sugar

Ice Cream Base
1 cup (230g) fresh or frozen blueberries
1/2 cup (100g) sugar
1 cup (237ml) whole milk, divided
1 tbsp (9g) cornstarch
1 1/4 cups (295ml) heavy cream
1/4 cup (24g) packed mint leaves
1 1/2 tbsp (22ml) white rum

To make the lime syrup, combine the juice and 1/4 cup (50g) sugar in a small saucepan and place over medium heat. Heat until the sugar is dissolved, 1 to 2 minutes. Pour into a small bowl, cover and refrigerate until completely cool.

To make the ice cream base, combine the blueberries and 1/2 cup (100g sugar in a small saucepan. Warm over medium heat, stirring frequently, until the mixture is simmering and slightly reduced and the berries release their juices. Remove from the heat and set aside.

Fill a large bowl with ice water. In a small bowl, combine 2 tablespoons (30ml) of the milk with the cornstarch, whisk and set aside. Combine the remaining milk and cream in a medium saucepan and place over medium heat. When the mixture is hot and begins to bubble, remove from the heat, add the mint and steep at room temperature for 20 minutes. Pour the mint-infused milk through a fine-mesh sieve, pressing on the back of the mint with a wooden spoon to extract as much flavor as possible.

Return the mint-infused milk to a medium saucepan and bring to a low boil over medium heat. Remove from the heat and gradually whisk in the cornstarch mixture. Return to a boil and cook over moderately high heat until the mixture is slightly thickened, about 30 seconds. Remove from the heat and pour into a medium bowl. Set the bowl in the ice water bath to cool, 20 minutes, whisking occasionally. Combine the blueberry mixture and cooled ice cream base in a blender and blend until the berries are fully incorporated. Cover and refrigerate until well chilled, at least 4 hours or overnight.

Whisk the chilled ice cream base, and add the lime syrup and rum. Pour the ice cream base into an ice cream maker and churn according to the manufacturer’s instructions. Transfer to a freezer-safe container and freeze until firm, at least 4 hours.

Easy Gluten Free Chocolate Chip Cookies : when plans change unexpectedly
Well, today's post took a bit of a different direction. I had scheduled to feature a real wedding that was submitted to me via Two Bright Lights and I was showing up as the only one having accepted it so I was excited about an exclusive first feature. But, at 6 pm, the photographer emailed and asked if I could wait on posting it as she "was really wanting to put it in print publication". I have now removed it permanently from my schedule and since I was bummed I couldn't share it with you, I decided something sweet would be the best solution. So here, are my favorite gluten free chocolate chip cookies that are made without butter along with a cute way to send your guests home with cookies if making them for a party. {I should probably mention the following for my readers that don't already know . . . my 7 year old daughter is gluten-free and nut-free so I tend to turn many pinterest recipes into "safe" options that we can all enjoy with her.}
easy gluten free chocolate chip cookies - no butter in these #glutenfree #nutfree #chocolatechipcookies #glutenfreecookies

Easy Gluten Free Chocolate Chip Cookies without Butter

adapted from: the 20/10

Ingredients:
1/2 tsp baking soda
1/4 tsp salt
1 1/2 cups all-purpose gluten-free flour blend {I use Domata a lot lately}
1 egg
4 tbsp of sugar
1/2 cup of packed light brown sugar
1/4 cup vegetable oil
1/4 cup applesauce
1 tsp vanilla extract
1/2 cup Enjoy Life mini chocolate chips {these are gluten + nut free}

Directions:
Preheat the oven to 350

1. In a bowl, sift together the baking soda, salt, and flour. Set aside.  

2. In a separate bowl, mix together the egg, both sugars, vegetable oil, applesauce, and vanilla extract until smooth.

3. Slowly add the mixed dry ingredients to the egg mixture and mix until the two are just blended. Then stir in the chocolate chips. I always end up using my hands here to be sure the chocolate chips are mixed in as the mini chips tend to stay on the bottom of the bowl.

4. Scoop out about a tablespoon of the dough and shape into rounds of about 1" and flatten in your hand before placing on your baking sheet {about 2" apart from each other}. I line mine with parchment paper for easy removal of the cookies.

5. Bake for around 10 minutes. Let cookies cool on the baking sheet for about 3 minutes before transferring them to a wire rack.

my personal notes for you:
I'm sure you could substitute other oils for the vegetable oil but I'm personally not able to use coconut oil as we have been told to avoid anything with coconut due to the nut allergy. These cookies can be a bit harder the next day - but a quick little run in the microwave not only softens them up, it makes them nice and warm again. Just like freshly made ones :)

Lastly - since this is a wedding blog - wouldn't it be super cute to make cookies for your guests at a bridal shower or wedding and send them home in these adorable dessert favor bags?
kraft paper favor bags perfect for sending guests home with sweet treats #favorbags #cookiebags #cookiefavors
Homemade Heart-Shaped Oreo Cookies for Wedding Favors : the perfect bite-sized dessert

Casey Barber, author of "Classic Snacks Made from Scratch", takes your favorite brand-name bites and turns them into homemade treats {70 of them to be exact}. Recently, Casey wowed everyone at a wedding with her delightful, heart-shaped twist on the homemade Oreo cookie that's in her book. It was the perfect bite-sized dessert. Today, Casey is sharing her recipe with us for the Heart-Shaped Oreo Cookies {plus, I share more on the book and the included recipes below} . . .

homemade heart shaped oreo cookies

Heart-Shaped Oreos®

Drumroll, please. It’s hard to mess with the perfection of an Oreo, the most popular cookie in America—but that hasn’t stopped high-end chefs and home bakers alike from trying. This cookie takes a step away from softer homemade versions for an authentic cookie crunch and firm, sugary center.

Dunk ’em in milk, twist the layers apart and nibble the cream, or eat in one or maybe two big bites—all the classic eating methods apply. Want a Double Stuf Oreo? Just make twice the amount of filling and load up.

YIELD: 3 dozen filled cookies
TOTAL TIME: 2 hours, including dough chilling time
DIFFICULTY: 3
SPECIAL EQUIPMENT: stand mixer, 1½-inch round cookie or biscuit cutter for classic round shapes, or a heart-shaped cookie cutter for heart cookies.

COOKIES
3 cups (12¾ ounces) unbleached all-purpose flour
½ cup (1½ ounces) unsweetened cocoa powder
1 tablespoon baked soda
1½ teaspoons baking powder
1 teaspoon kosher salt
2 ounces semisweet chocolate, coarsely chopped (a scant 1⁄3 cup)
8 tablespoons (4 ounces) chilled unsalted butter, cut into ½-inch cubes
½ cup (3¼ ounces) vegetable shortening
1 cup (7 ounces) granulated sugar
2 large eggs

FILLING
2½ cups (10 ounces) powdered sugar
2 tablespoons light corn syrup
2 tablespoons whole or reduced-fat milk
1 tablespoon vegetable shortening

MAKE THE COOKIES:
Whisk the flour, cocoa powder, baked soda, baking powder, and salt together into a large bowl until no lumps remain.

Melt the chocolate in a small saucepan over low heat, stirring constantly, or microwave at 15-second intervals, stirring between each burst, until liquefied. Set aside to cool slightly.

In the bowl of a stand mixer fitted with the paddle attachment, beat the butter, shortening, and sugar on medium speed for 3 to 4 minutes, until light, fluffy, and creamy. Reduce the speed to low and add the eggs one at a time, mixing thoroughly before adding the next. Pour in the melted chocolate and mix until just combined.

Add the dry ingredients and mix until a soft dough forms. Shape into 2 discs of roughly equal size and wrap each in plastic wrap. Refrigerate for at least 1 hour, until firm.

Preheat the oven to 375˚F and line 2 baking sheets with parchment paper or Silpat liners.

On a floured work surface, roll one of the dough discs to ¼-inch thickness and stamp out cookie rounds, using a heart-shaped cookie cutter. Transfer the hearts to the prepared baking sheet and repeat with the remaining disc of dough.

Bake for 10 to 12 minutes, or until the cookies are slightly crispy at the edges and puffed but still pliable in the center. Cool completely on a wire rack before filling.

FILL THE COOKIES:
Using the stand mixer fitted with the paddle attachment, mix the powdered sugar, corn syrup, milk, and shortening on low speed until combined, about 30 seconds. Increase the mixer speed to medium and beat for 30 more seconds to whip slightly.

With the flat side of a cooled cookie facing up, spoon 1 teaspoon filling onto the center. Top with a second cookie, flat side down, spreading the filling evenly. Repeat to fill all the cookies.

Store the cookies at room temperature in an airtight container for up to a week.

classic snacks made from scratch

If you love the Brand-Name Treats like Oatmeal Creme Pies, Entenmann's® Donuts, Hostess® Chocolate Cupcakes, Neopolitan Ice Cream Sandwiches, Creamsicles®, Sour Patch Kids®, and others - you are going to love Classic Snacks Made from Scratch. You can now have the ever-popular faved goodies but without the artificial additives and colors. Just think of the fun dessert displays you can create for bridal showers and even weddings with this cookbook. Each recipe also lets you know what special equipment {if any} is necessary - I just wish there were photos for each one. While, of course, it's not necessary because there are complete instructions with each recipe, I'm just a visual person and love to see what the finished treat should look like. But, I guess that just means each of the goodies will have our twist on them, right? Just like the featured heart oreo's above - as you could make them any cookie cutter shape you desire.

PS: While I did receive a copy of this cookbook, the views expressed in this post are completely by own. I'm looking forward to making my daughter her own goldfish crackers, but gluten free of course. I just need to figure out how to make a gluten free version of cake flour. Anybody know?

Desserts and Weddings : Pairing Pavlova with Ballerina Brides

When I happened to see a photo from Kate of Magnolia Rouge on twitter last night of a Pavlova she made for a shoot, I immediately went to look up the dessert online. Little did I know, but it was named after the Russian ballet dancer Anna Pavlova. So, I thought it would be fun to do some pairings of the unique pavlova dessert with ballerina brides. After all, pavlova is a meringue dessert - so it's light and airy, just like a ballerina dances across the stage.

snickers and brownie pavlova with a bride in ballet shoessnickers and brownie pavlova | bride in ballet shoes

summer pavlova roll with a ballerina bride and balloonssummer pavlova roll | ballerina bride with balloons

cherry pavlova and a bridal ballet portraitcherry pavlova | bridal ballet portrait

double chocolate and raspberry pavlova with ballerina bridal portraitdouble chocolate and raspberry pavlova | ballerina bridal portrait