Brenda's Wedding Blog | Fresh Ideas for Creative Weddings
061416-southern-wedding-party-confetti.jpg

wedding blog + planning guide for creative weddings | inspiration for DIY Brides

Brenda's Wedding Blog is your online resource for planning your dream elegant wedding. Helping you find the "wow" in weddings.

Posts tagged diy invitations
Creative Wedding DIY Ideas for Brides, Designers and Photographers

Spring is here which means it's officially wedding season and for the next few days you can grab an amazing bundle of design resources to let your imagination run wild.

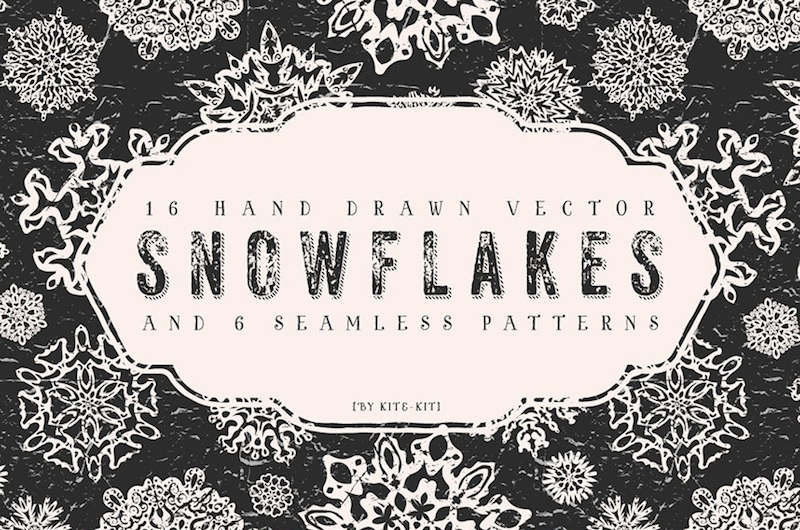
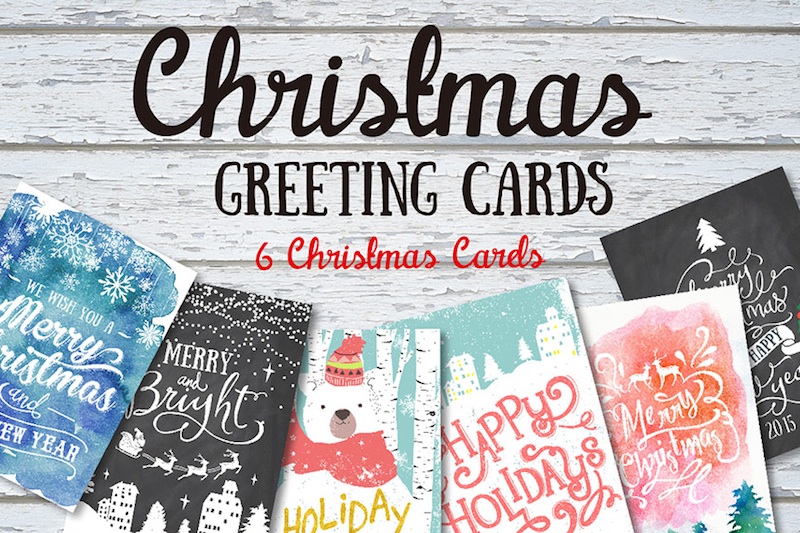
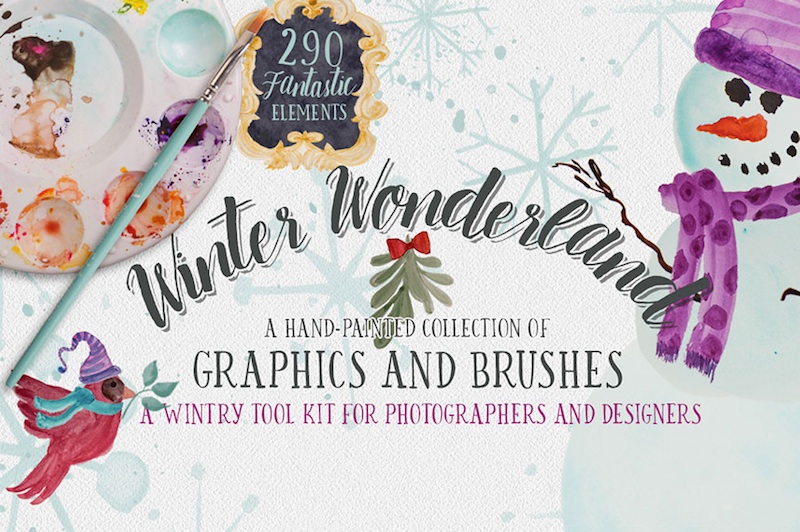
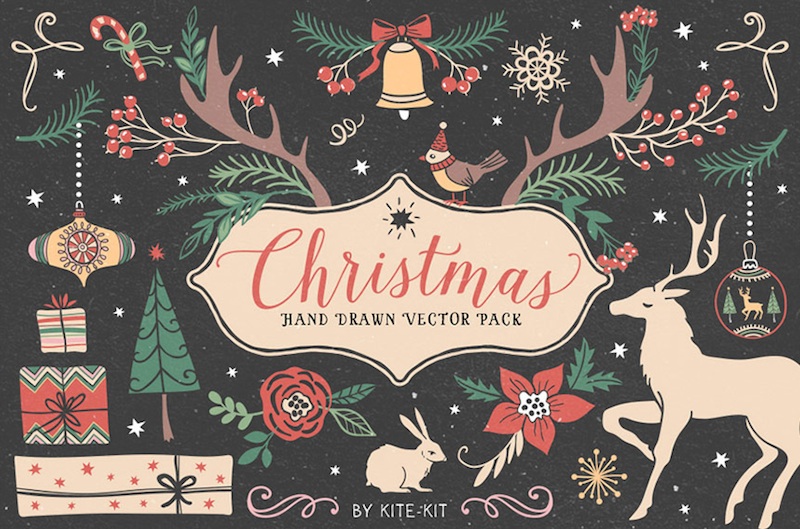
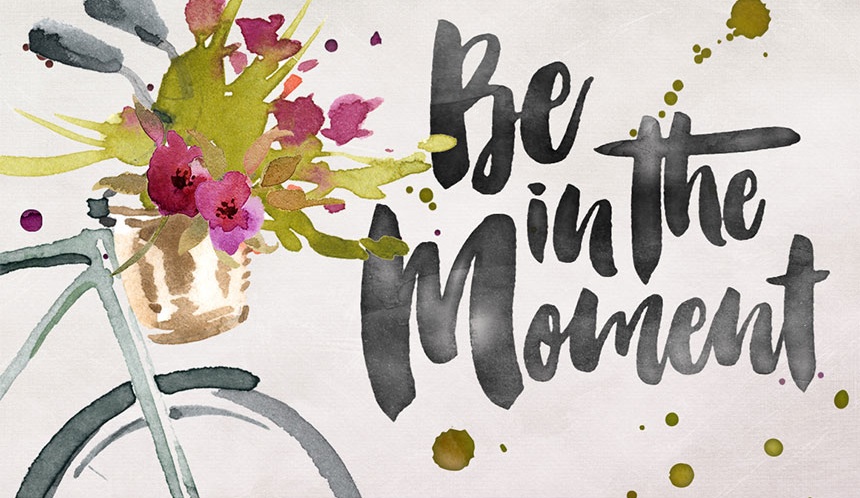
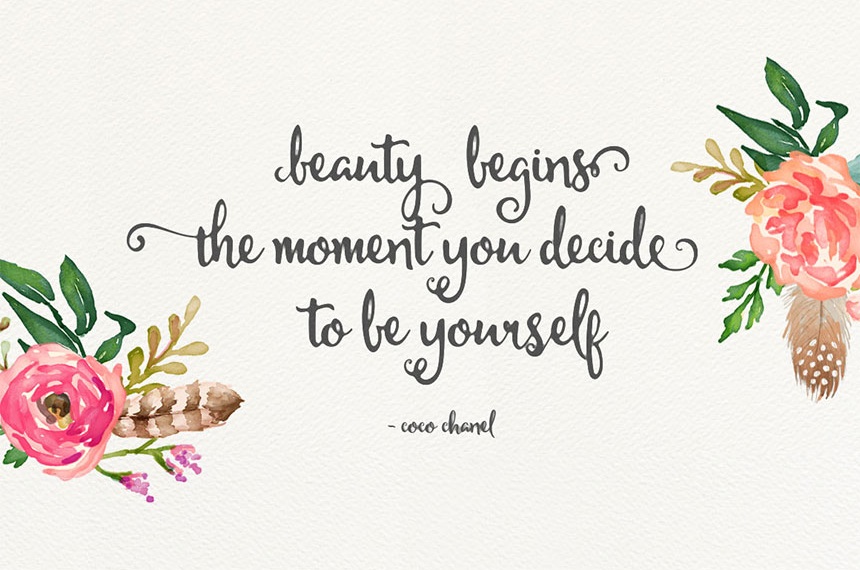
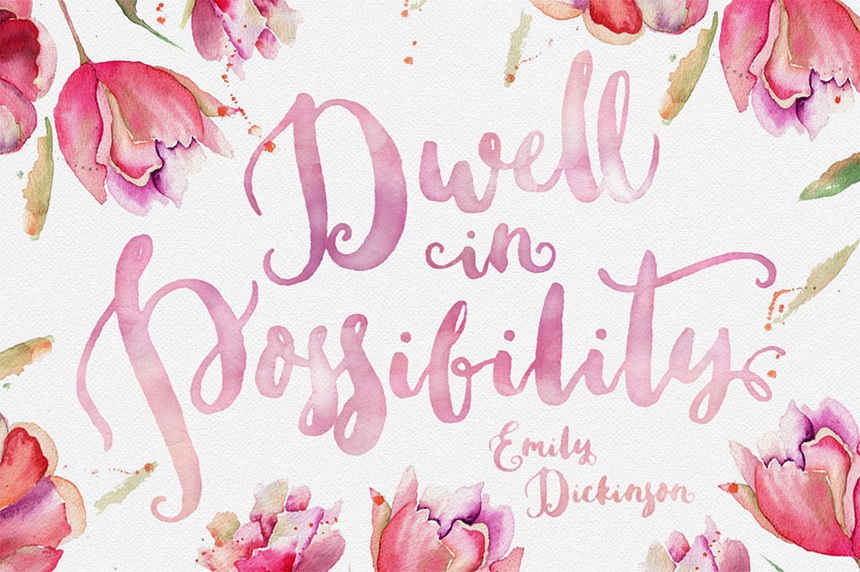
This gigantic bundle is the must-have DIY package for invitation designers, creative brides and even photographers. In this package, you will find layer styles, vectors, watercolor elements, brushes, patterns, mockups, templates, actions, Lightroom presets, photo overlays, and more. All of this is just $39 {that's a savings of 99% if each part of the bundle was purchased separately}.

Hurry and Order this $39 Creative Wedding
Bundle of Graphics - The Savings End In . . .


This Design + Photography deal is a must-have for you if . . .

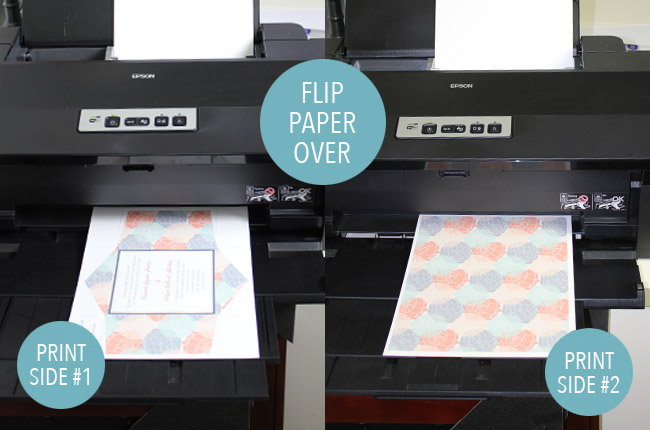
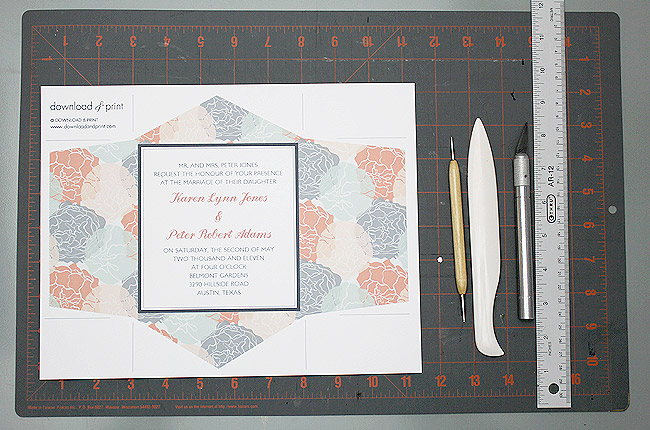
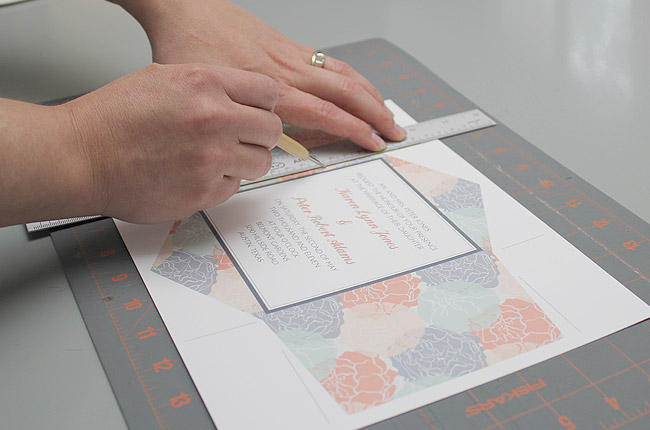
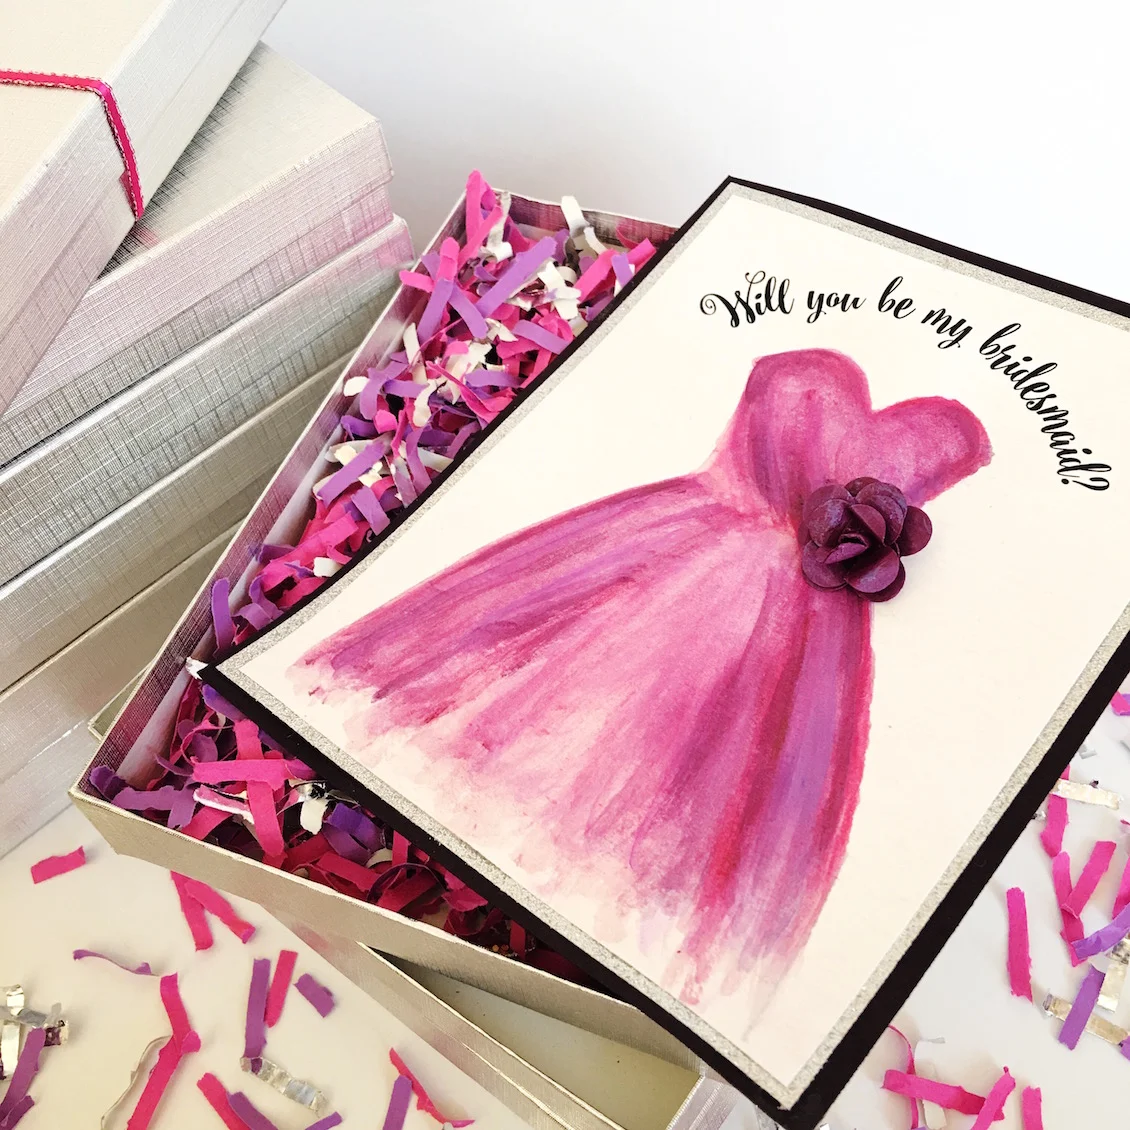
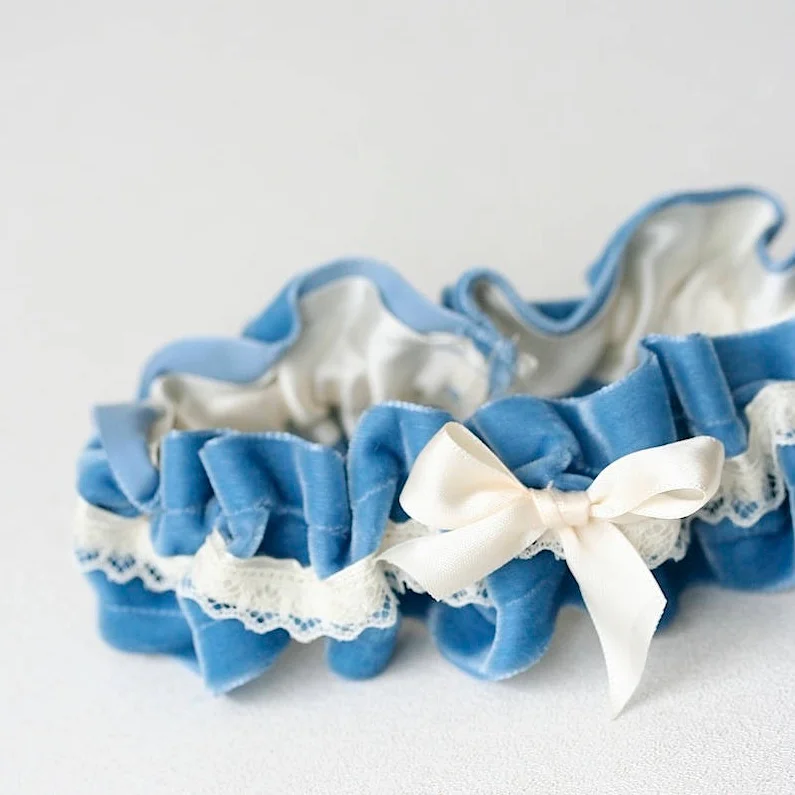
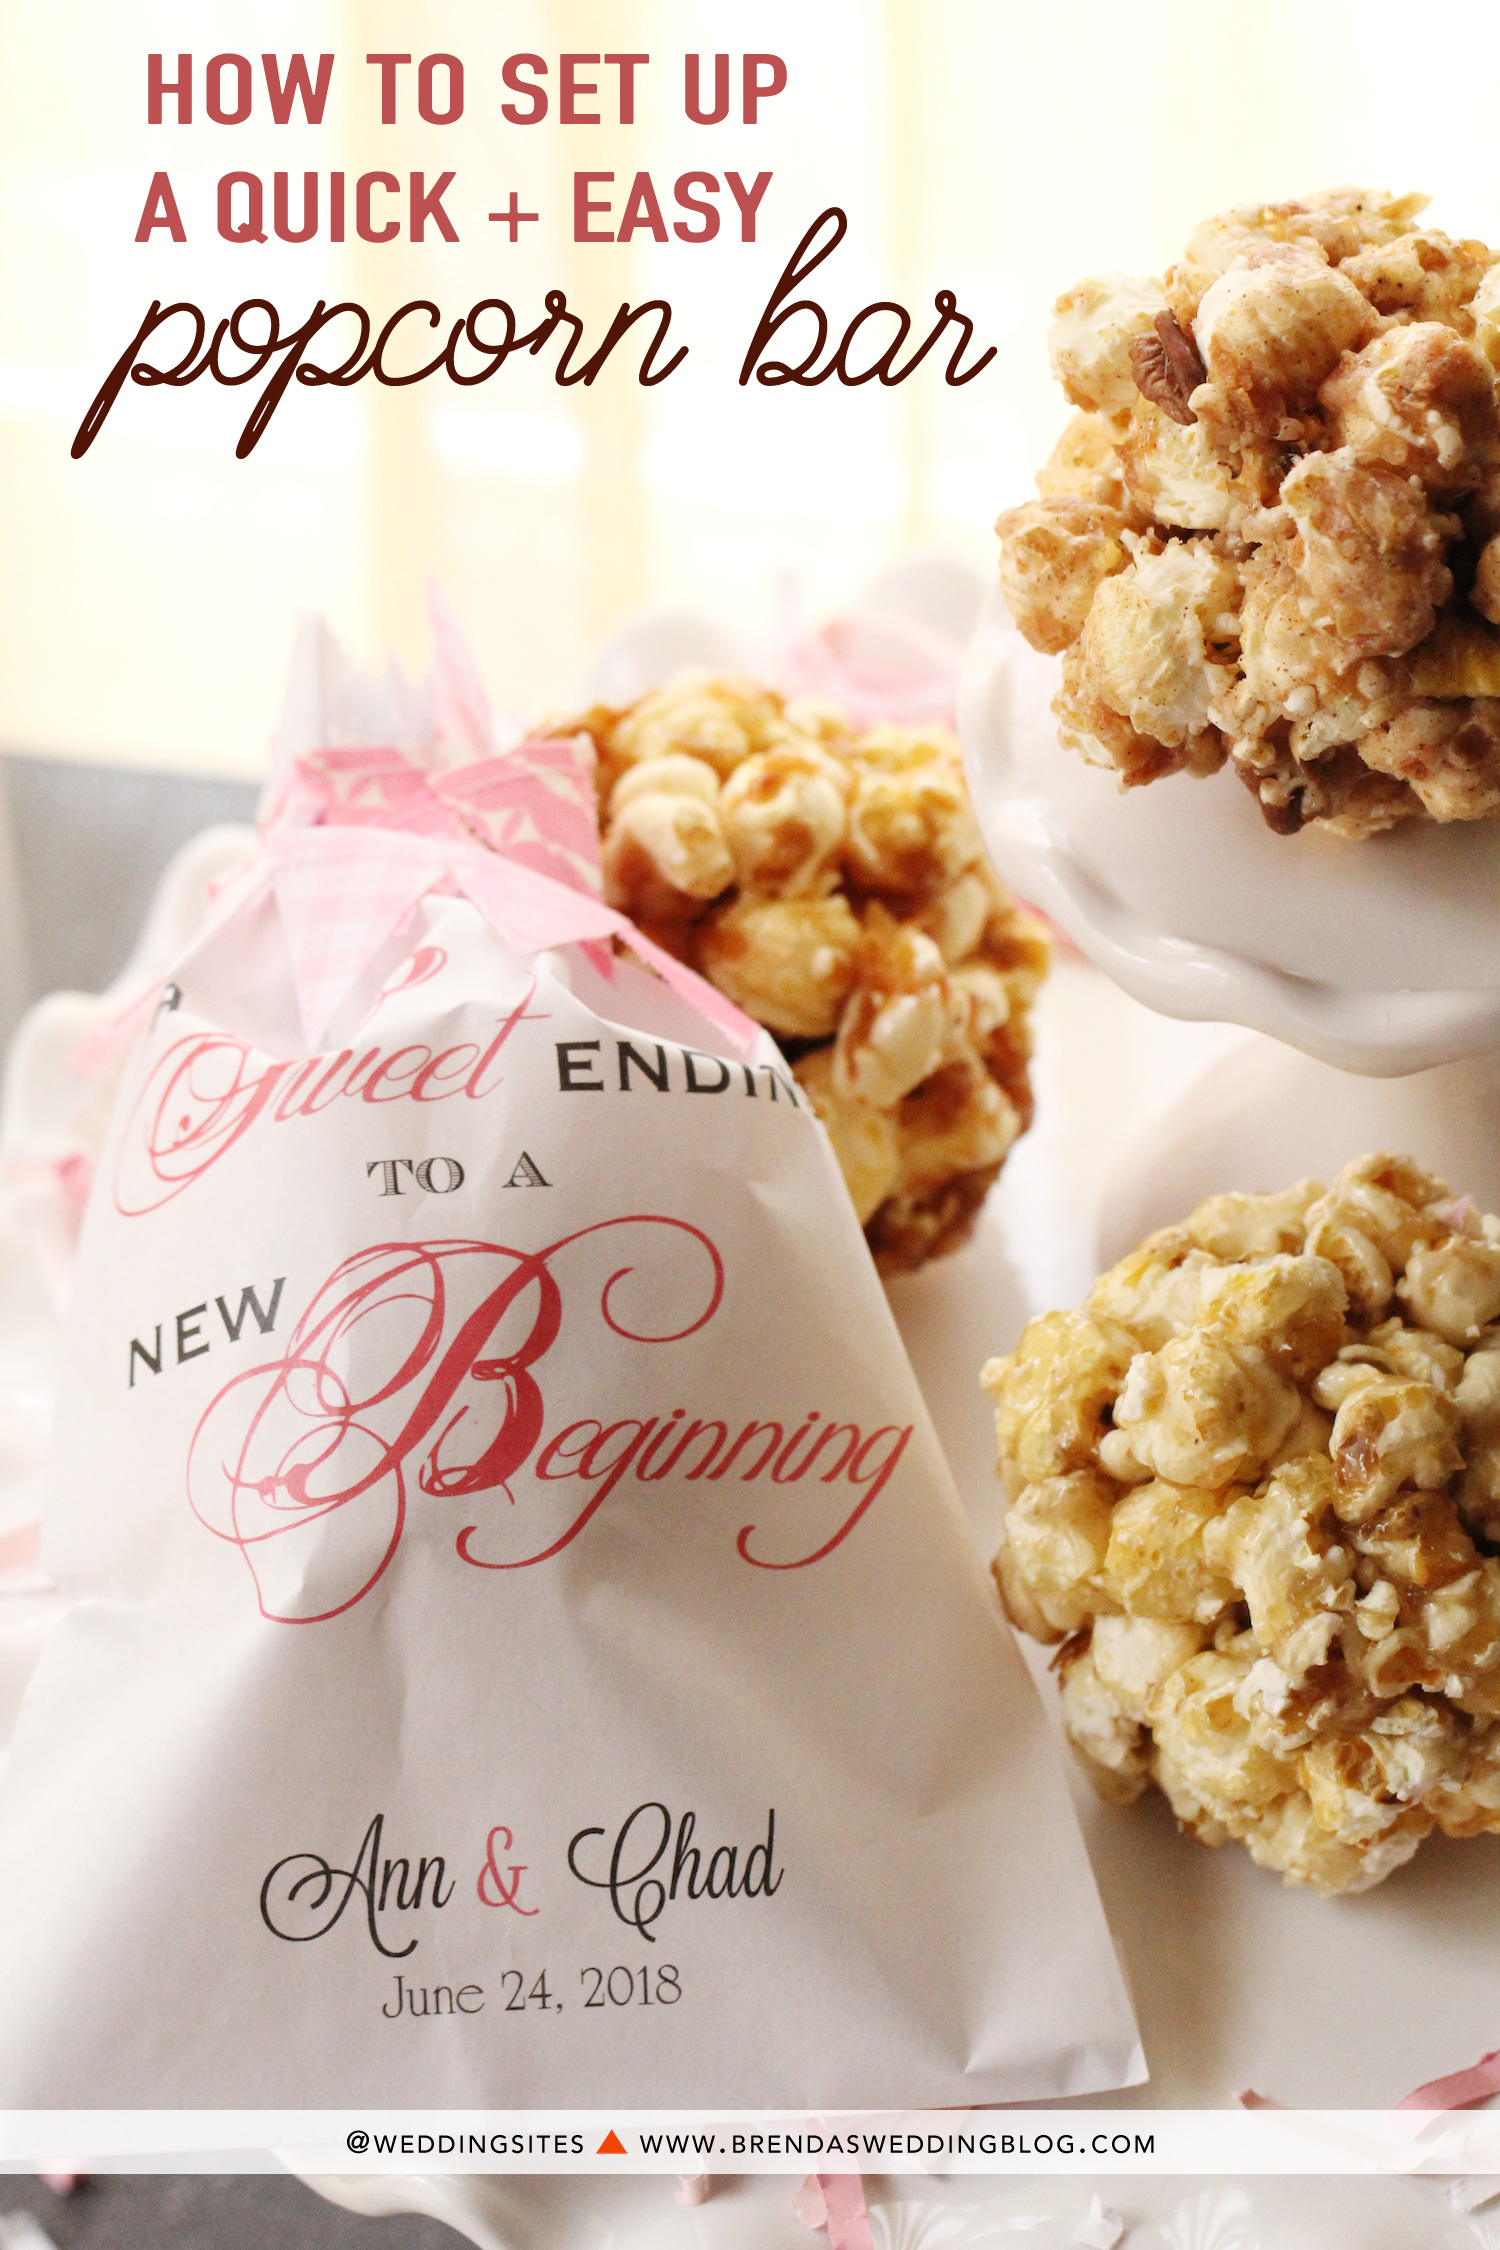
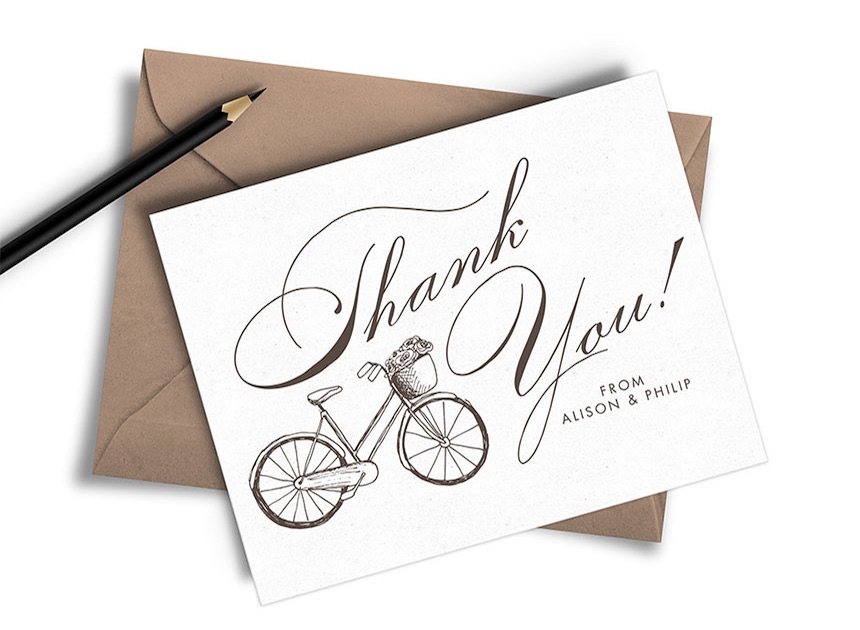
• You're a Creative Bride looking to DIY your Save the Dates, Invitations or the fun paper extras
• You're a photographer and want to offer Save the Dates / Engagement Cards in your packages
• You're an Invitation Designer looking to expand your library of graphics
• You're a web designer in the wedding industry and want fun graphics to include in your designs
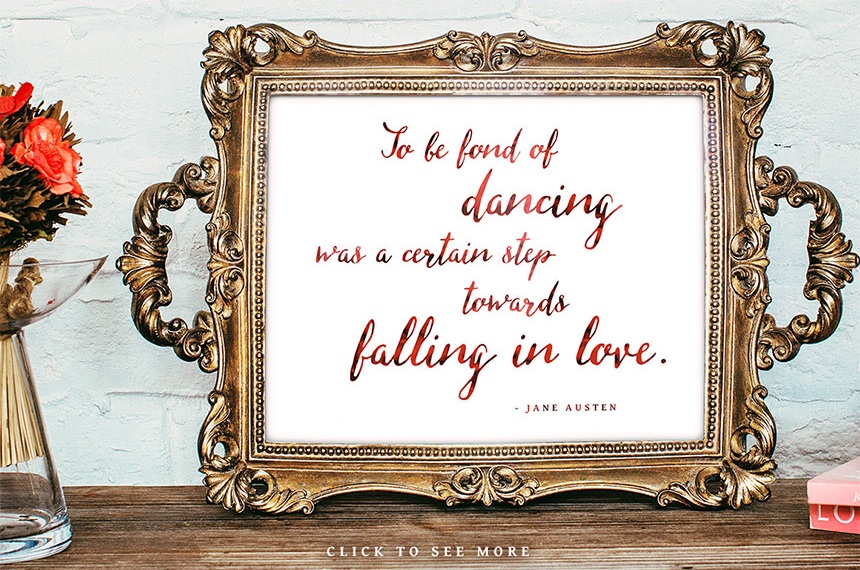
• You're a designer and need mock-ups to showcase your designs in frames
• You're a creative person that loves to have extra designs on hand for when the design urge strikes

Don't Forget - this amazing $39 Design Bundle Ends Soon

this post contains affiliate links to products I'm proud to showcase + have personally used
Design Your Own Winter Themed Save the Dates and Invitations

If you're one of the lucky brides that said yes over the holidays, first off . . . Congratulations!!!. Secondly, you will LOVE these winter themed fonts and graphics for your Save the Date designs. Even if you plan to marry over the next holiday season {from Thanksgiving through the New Year}, this font + graphic bundle is for you. For only $29, you will gain access to thousands of Christmas and winter resources . . . plus some extras for Thanksgiving and New Year's. Designs include backgrounds, patterns, textures, styles, templates, and much more.

It's a super fun Creative Winter Bundle that is only available for $29 for the next 4 days <<< Click Here

this post contains an affiliate link to a company I'm proud to showcase + personally use
39 Amazing New Fonts for Wedding Invitations

Are you a DIY Bride? An invitation designer? You are going to love this amazing deal that ends in two weeks. You can receive 39 amazing new fonts - like the one shown below along with 38 others for just $39. That's only $1 a font!!! This is certainly an amazing font deal you do not want to pass up. Check out below to see all that you get with just this one font - the other fonts have even more awesome extras included. Come check out all the fonts here.

The font showcased above comes in the font bundle for $39 with all of the following PLUS 38 other fonts . . . it's actually titled the "Ultimate Wedding and Party Watercolour Mega Bundle".

  • 2 trendy hand written fonts - perfect combo for your invitations.
  • 750+ hand drawn vector shapes - great for wedding & party invitations, thank you cards, etc.
  • 98 photoshop watercolor styles - might possibly be the greatest collection of watercolor styles on the market.
  • 12 Seamless Vector Patterns
  • 24 Vector Splashes
  • 50 High Resolution Loose Forms with transparent Background - you can scale them, rotate them, and adjust their colors.
  • 6 Paper Textures perfect for giving the watercolor an authentic look

Click Here to Purchase Your Font Bundle and Save {only $1 a font}

this post contains affiliate links

7 Must Have Script Fonts for DIY Invitations

While I take today off to celebrate my 13th wedding anniversary with my husband and our girls get to enjoy a fun day with my parents before our oldest girl returns to school tomorrow . . . I wanted to share with you 7 must have script fonts that are perfect for DIY Wedding Invitations and Invitation Designers. These are also only 7 of the 33 New and Incredible Fonts (Plus Hundreds of Freebies) that are part of a special deal {until September 28th}. For only $39, you will receive 33 beautiful fonts, including webfont versions, plus hundreds of free bonuses like vectors, textures, and more. This Font Deal is a DIY design dream come true.

hurry & purchase your font bundle for $39 before the deal ends

Free Wedding Invitation Printable : Peachy Keen Pouchette Invitation
Hello everyone! I’m Anna Skye of Download & Print and I am thrilled to have Brenda invite me over to her blog with an exclusive printable wedding invitation template that I call Peachy Keen. First, if you are looking for a wedding invitation, huge congratulations on your upcoming nuptials! If you are planning a contemporary wedding but don't want to stray too far off the beaten path, this pouchette might pique your interest. The surprising color combination adds a modern spin to the classic pouchette shape.

The DIY steps are easy enough for even the most reluctant crafter to follow. Best of all, the finished product looks anything but DIY. I don't believe you have to compromise on quality or style when you choose to make it yourself.

Get the free Peachy Keen downloads here and follow along with the steps below to create this invitation for yourself.
Supplies:
- Free printable templates {DOWNLOAD HERE}
- White card stock
- Printer
- Silver ribbon 7/8” wide, cut into approximately 18” lengths
- Bone Folder (optional)
- Scissors or X-acto knife and ruler (my preference)
- Silver sharpie (optional)

Step 1: Download and Print


Download the free Peachy Keen wedding invitation template files. Open the documents in MS Word and add your wedding details.

The fonts I used in the sample are London MM and Landliebe Script. You can download these fonts for free online, or use any fonts that you like. If you don’t have the sample fonts installed on your computer, Word will substitute different fonts.

Print the first side of the pouchette, flip the paper over and print the back side.

Hint: 90 lb paper is the ideal weight for this project. A paper too light runs the risk of having the printing show through the other side. Anything too heavy and your printer may have trouble, and creating the creases becomes more work.

Step 2: Score


Using your bone folder, score along the fold lines, just outside the invitation square. This starts the crease and preps the paper for the steps to come.

Hint: If you don’t have a scoring tool, a closed mechanical pencil or back of your X-actor knife will work.

Step 3: Cut


I like to cut around the pouchette using an X-acto knife and ruler, but you can also use scissors.

If using an X-acto knife and ruler cut from the inverted points to the outside (i.e. from the corners of the invitation to the outside of the paper). This will make for sharper corners and you won’t run the risk of overstepping the cut mark.

Step 4: Fold


Fold in the pouchette flaps using the creases that you previously made. A bone folder will help you create sharp creases, or you can push on the fold firmly with the heel of your hand. The short flaps fold in first, followed by the medium flap, and the longest flap folds in last.

Optional Step 5: Silver Embellishment


If you’d like to add a little sparkle to the invitation, trace the inner invitation border with a silver sharpie. The sharpie leaves a subtle sheen (Translation: Expensive metallic look!) to the pouchette.

Last Step: Seal and Mail


Tie a length of ribbon around the pouchette to keep it closed. Your invitations are now ready for stuffing into a 5.5” square envelope and mailing.

Hint: This entire process moves much quicker if you form an assembly line. Grab your maids, mom, and fiancé, your beverage of choice, and make an afternoon of it. Give each person a task. One person scores, one cuts, one folds, and one ties. I don’t recommend having your fiancé take the last step. In my experience, males just don’t tie pretty bows!