


My Secrets Revealed … How to Create Inspiration Boards that are easy to make and eye-catching
I have found a brand new way of creating my inspiration boards and what a time saver it is - still can't get over it. Below the infographic are the full details on How to Create Your Inspiration Board that will draw the attention of your readers and will be shared and pinned like crazy.
Making an Inspiration Board that will get you lots of attention
{and more time for you spend on the next to-do item}
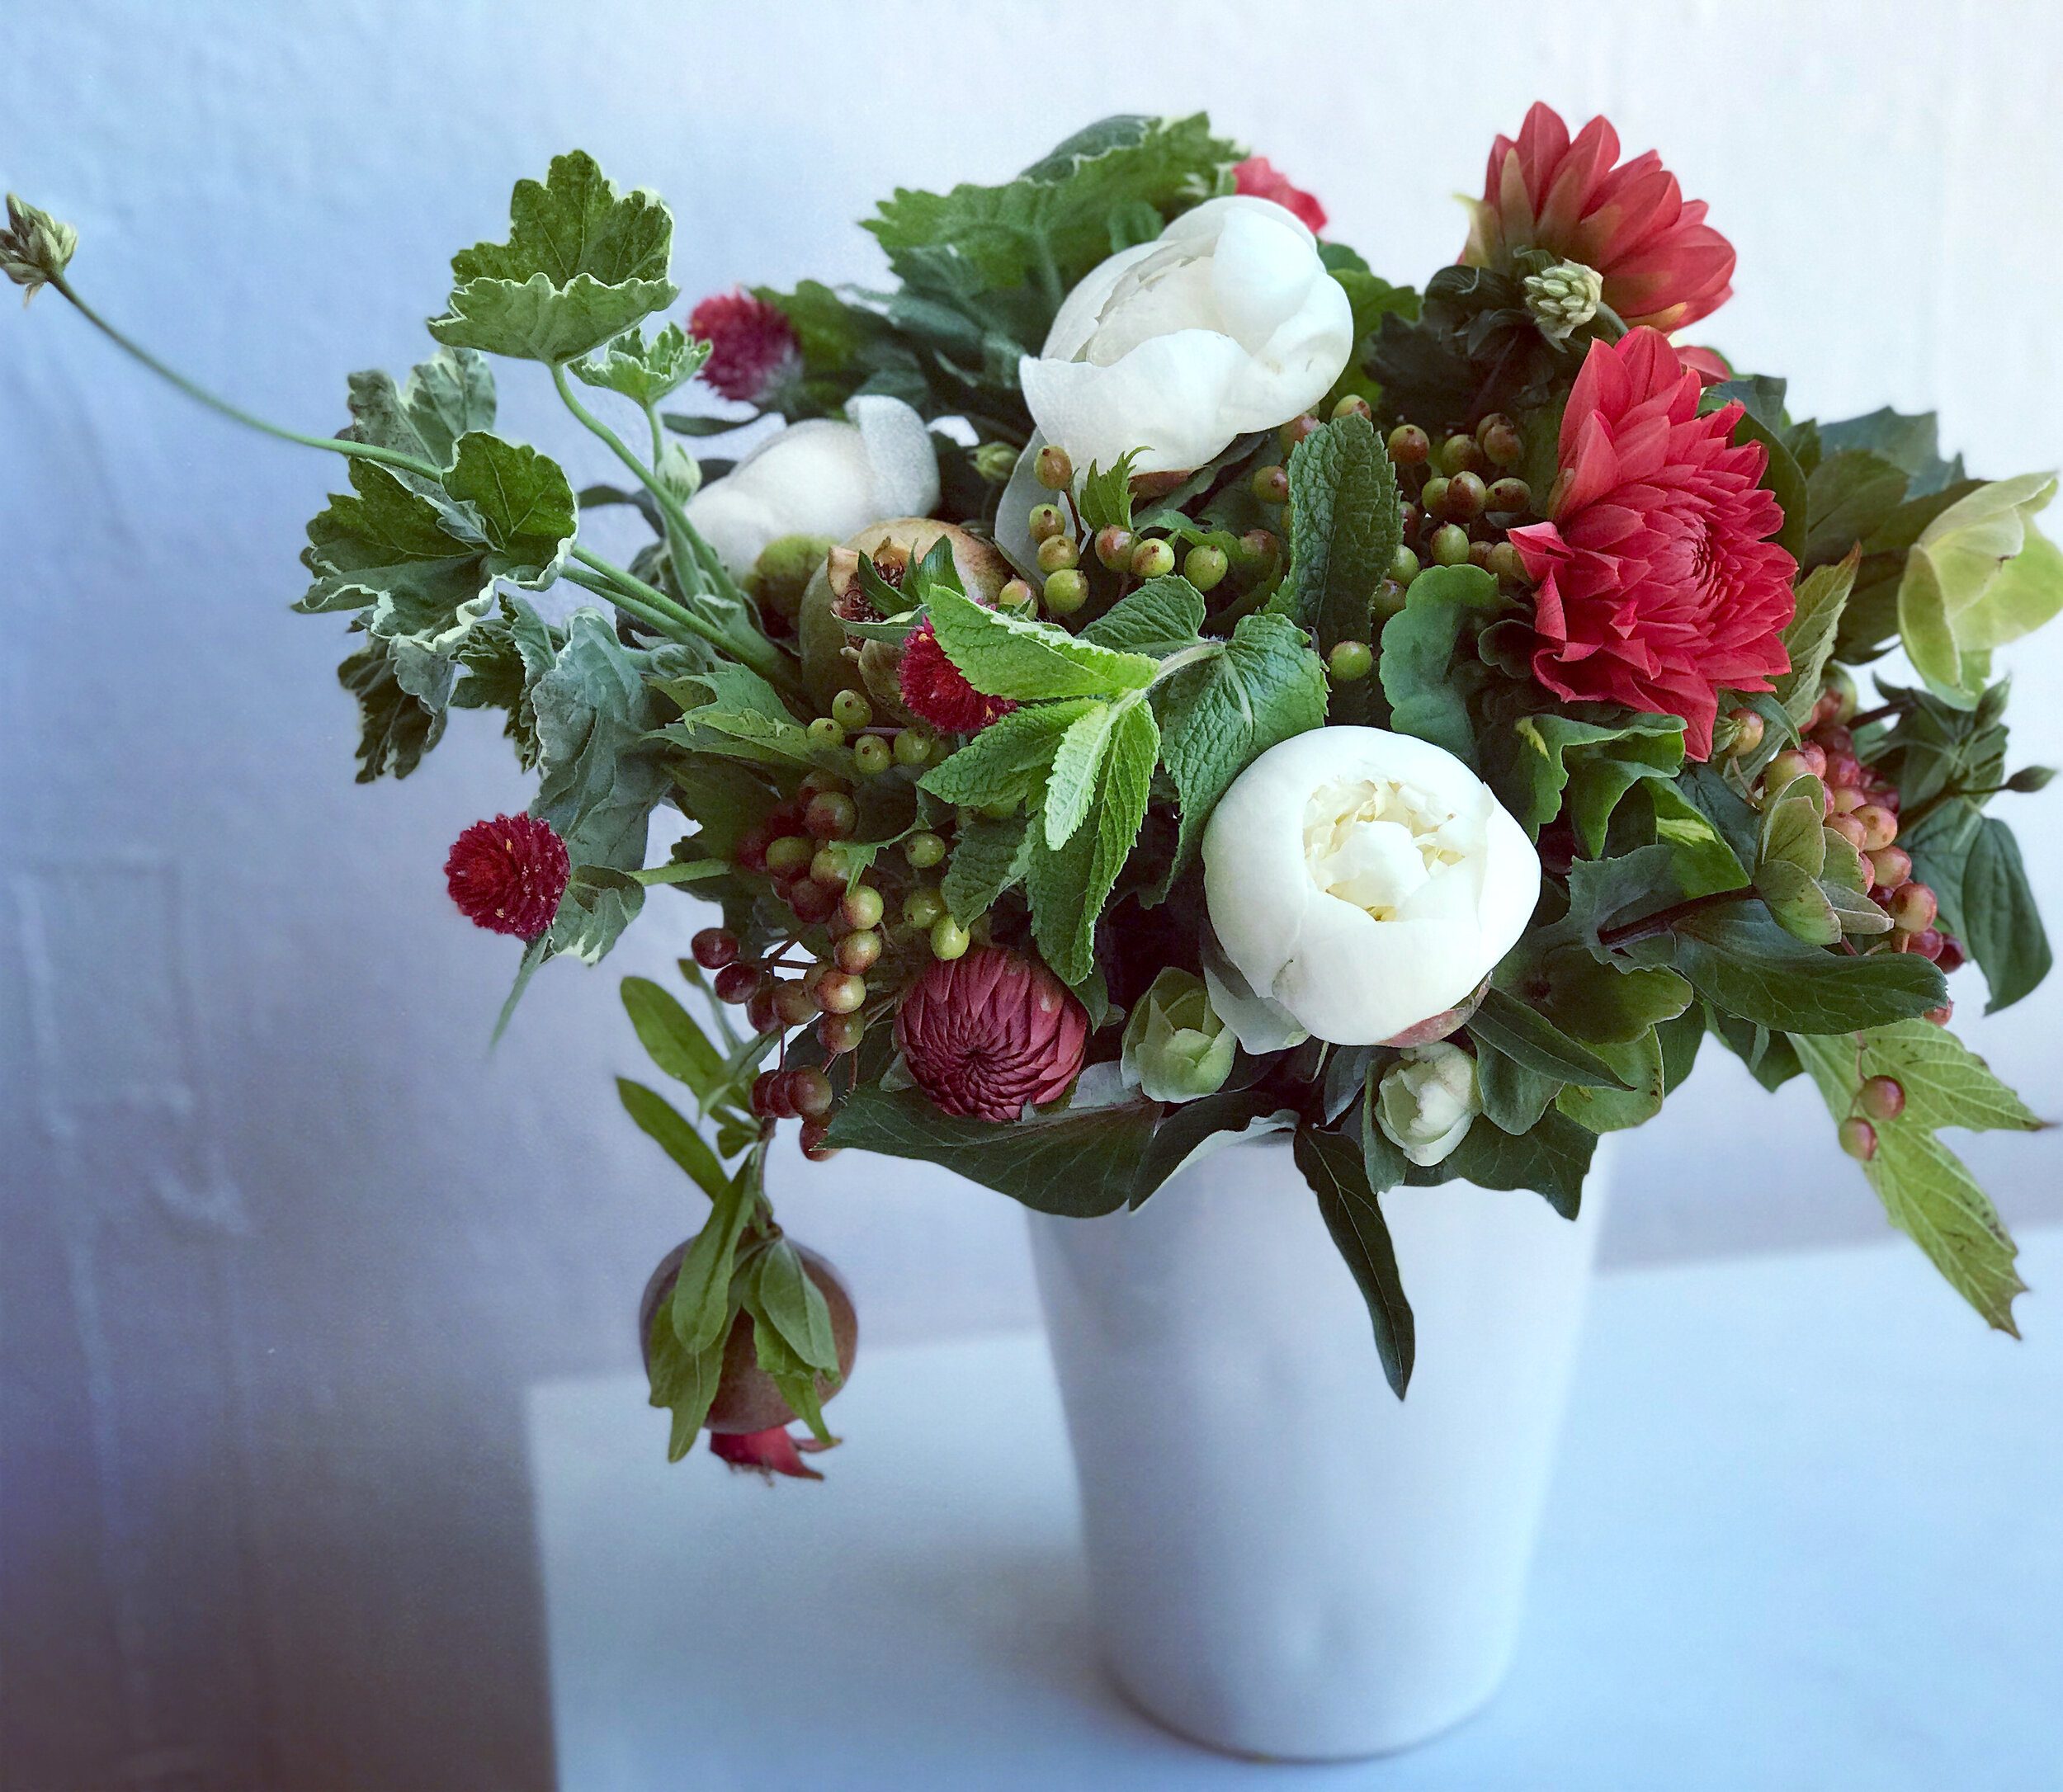
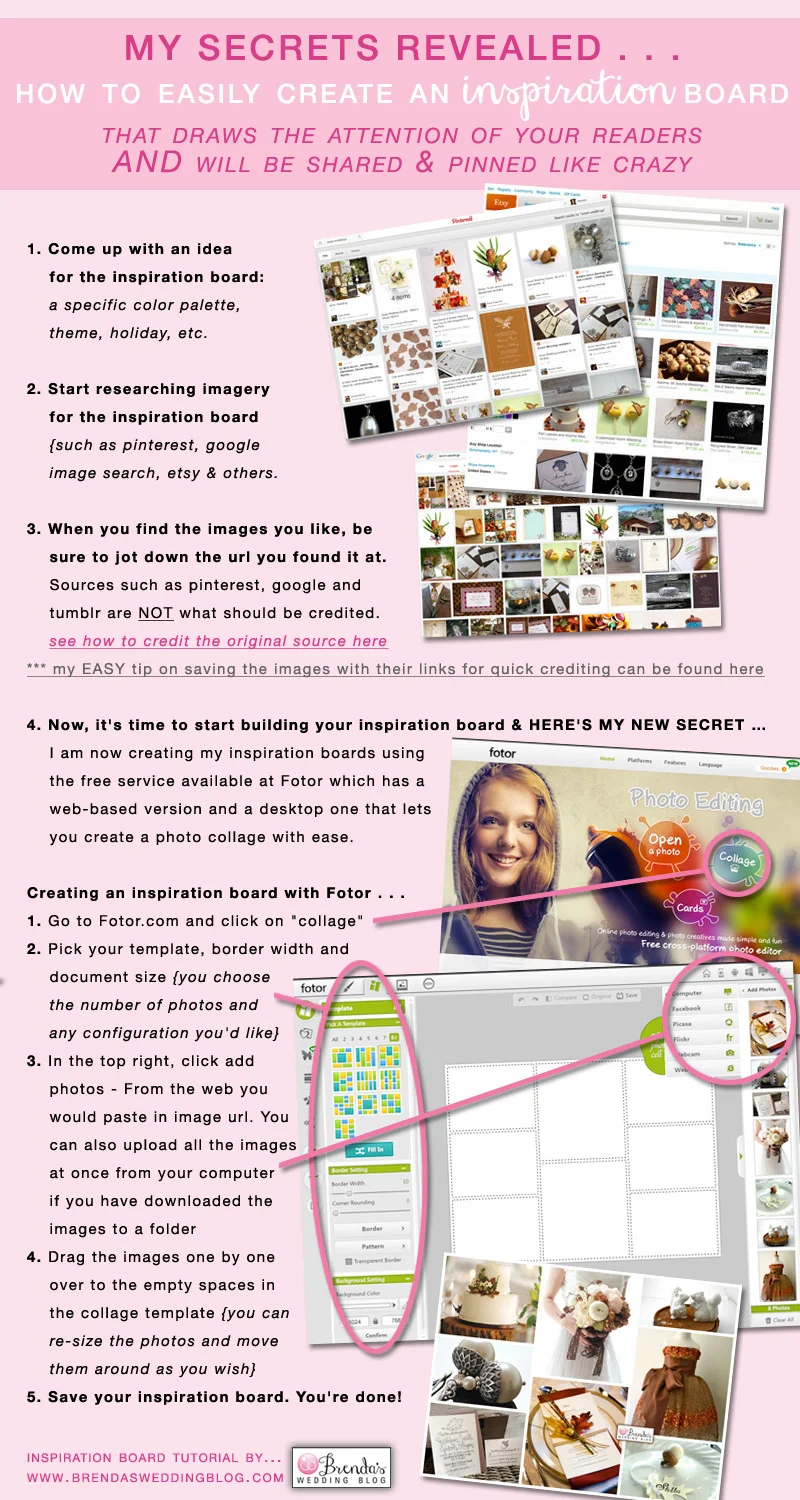
1. Come up with an idea for the inspiration board - a specific color palette, a theme, a holiday, etc. For this example, you will see acorn wedding ideas {final inspiration board to be posted later this week}
2. Start researching imagery for the inspiration board. I use a combination of pinterest, google image search, etsy as well as online magazine sites and others.
3. When you find the images, be sure to jot down the url you found it at. Sources such as pinterest, google and tumblr are not what should be credited. You will want to credit the original source - if you can't find it {for example if you re-pin an existing image on pinterest}, you can simply copy the image address and do an image search with google to find the source. If it still can't be found, my recommendation is to move on to another image. I never link to an image unless I can credit the source where it came from.
*** Here's what I do to save the images I find... I pin/save every image to a private pinterest board called {future inspiration boards}. This way my image link is saved for easy reference along with the photo for when it's time to create the inspiration board.
4. Now, it's time to start building your inspiration board and HERE'S MY NEW SECRET … I am now creating my inspiration boards using the free service available at Fotor. {PS: Fotor recently became a sponsor of the blog with a banner ad, but my opinions in this post are completely my own}. Fotor.com offers both a web based version and a desktop version that lets you create a photo collage with ease. There's much more that this program can do, including photo effects, but I will keep it basic for creating the inspiration board.
Here's how I previously created inspiration boards:
1. create a photoshop document
2. add vertical guidelines
3. find my images
4. open them all in preview on my mac
5. copy my images one at a time
6. bring them into my photoshop document
7. re-size to fit the guidelines width
8. realize my images didn't fit as planned, find several more images
9. add white rules between each image
10. copy and paste in my logo to "brand" my inspiration board
Phew, I'm tired just looking at all I used to have to do, no wonder I didn't create inspiration boards that often.
Here's how to create an inspiration board with Fotor . . .
1. Go to Fotor.com and click on "collage"
2. Pick your template, border width + document size
{you choose the number of photos and any configuration you'd like}
3. In the top right, click add photos - From the web you would paste in image url. You can also upload all the images at once from your computer if you have downloaded the images to a folder {I've used both methods}
4. Drag the images one by one over to the empty photo spaces in the collage template {can re-size them and move them around as you wish}
5. Save your inspiration board. You're done!
{I'll admit that after I save the file, I do bring the file into photoshop to paste in my logo, but that's just because I'm still figuring out everything with Fotor which does let you add text and so much more.}
Now, it's your turn to create an inspiration board the easy way. If you create one using Fotor, I'd love to see it. Please share them with me and maybe I'll feature it on my blog or on facebook.